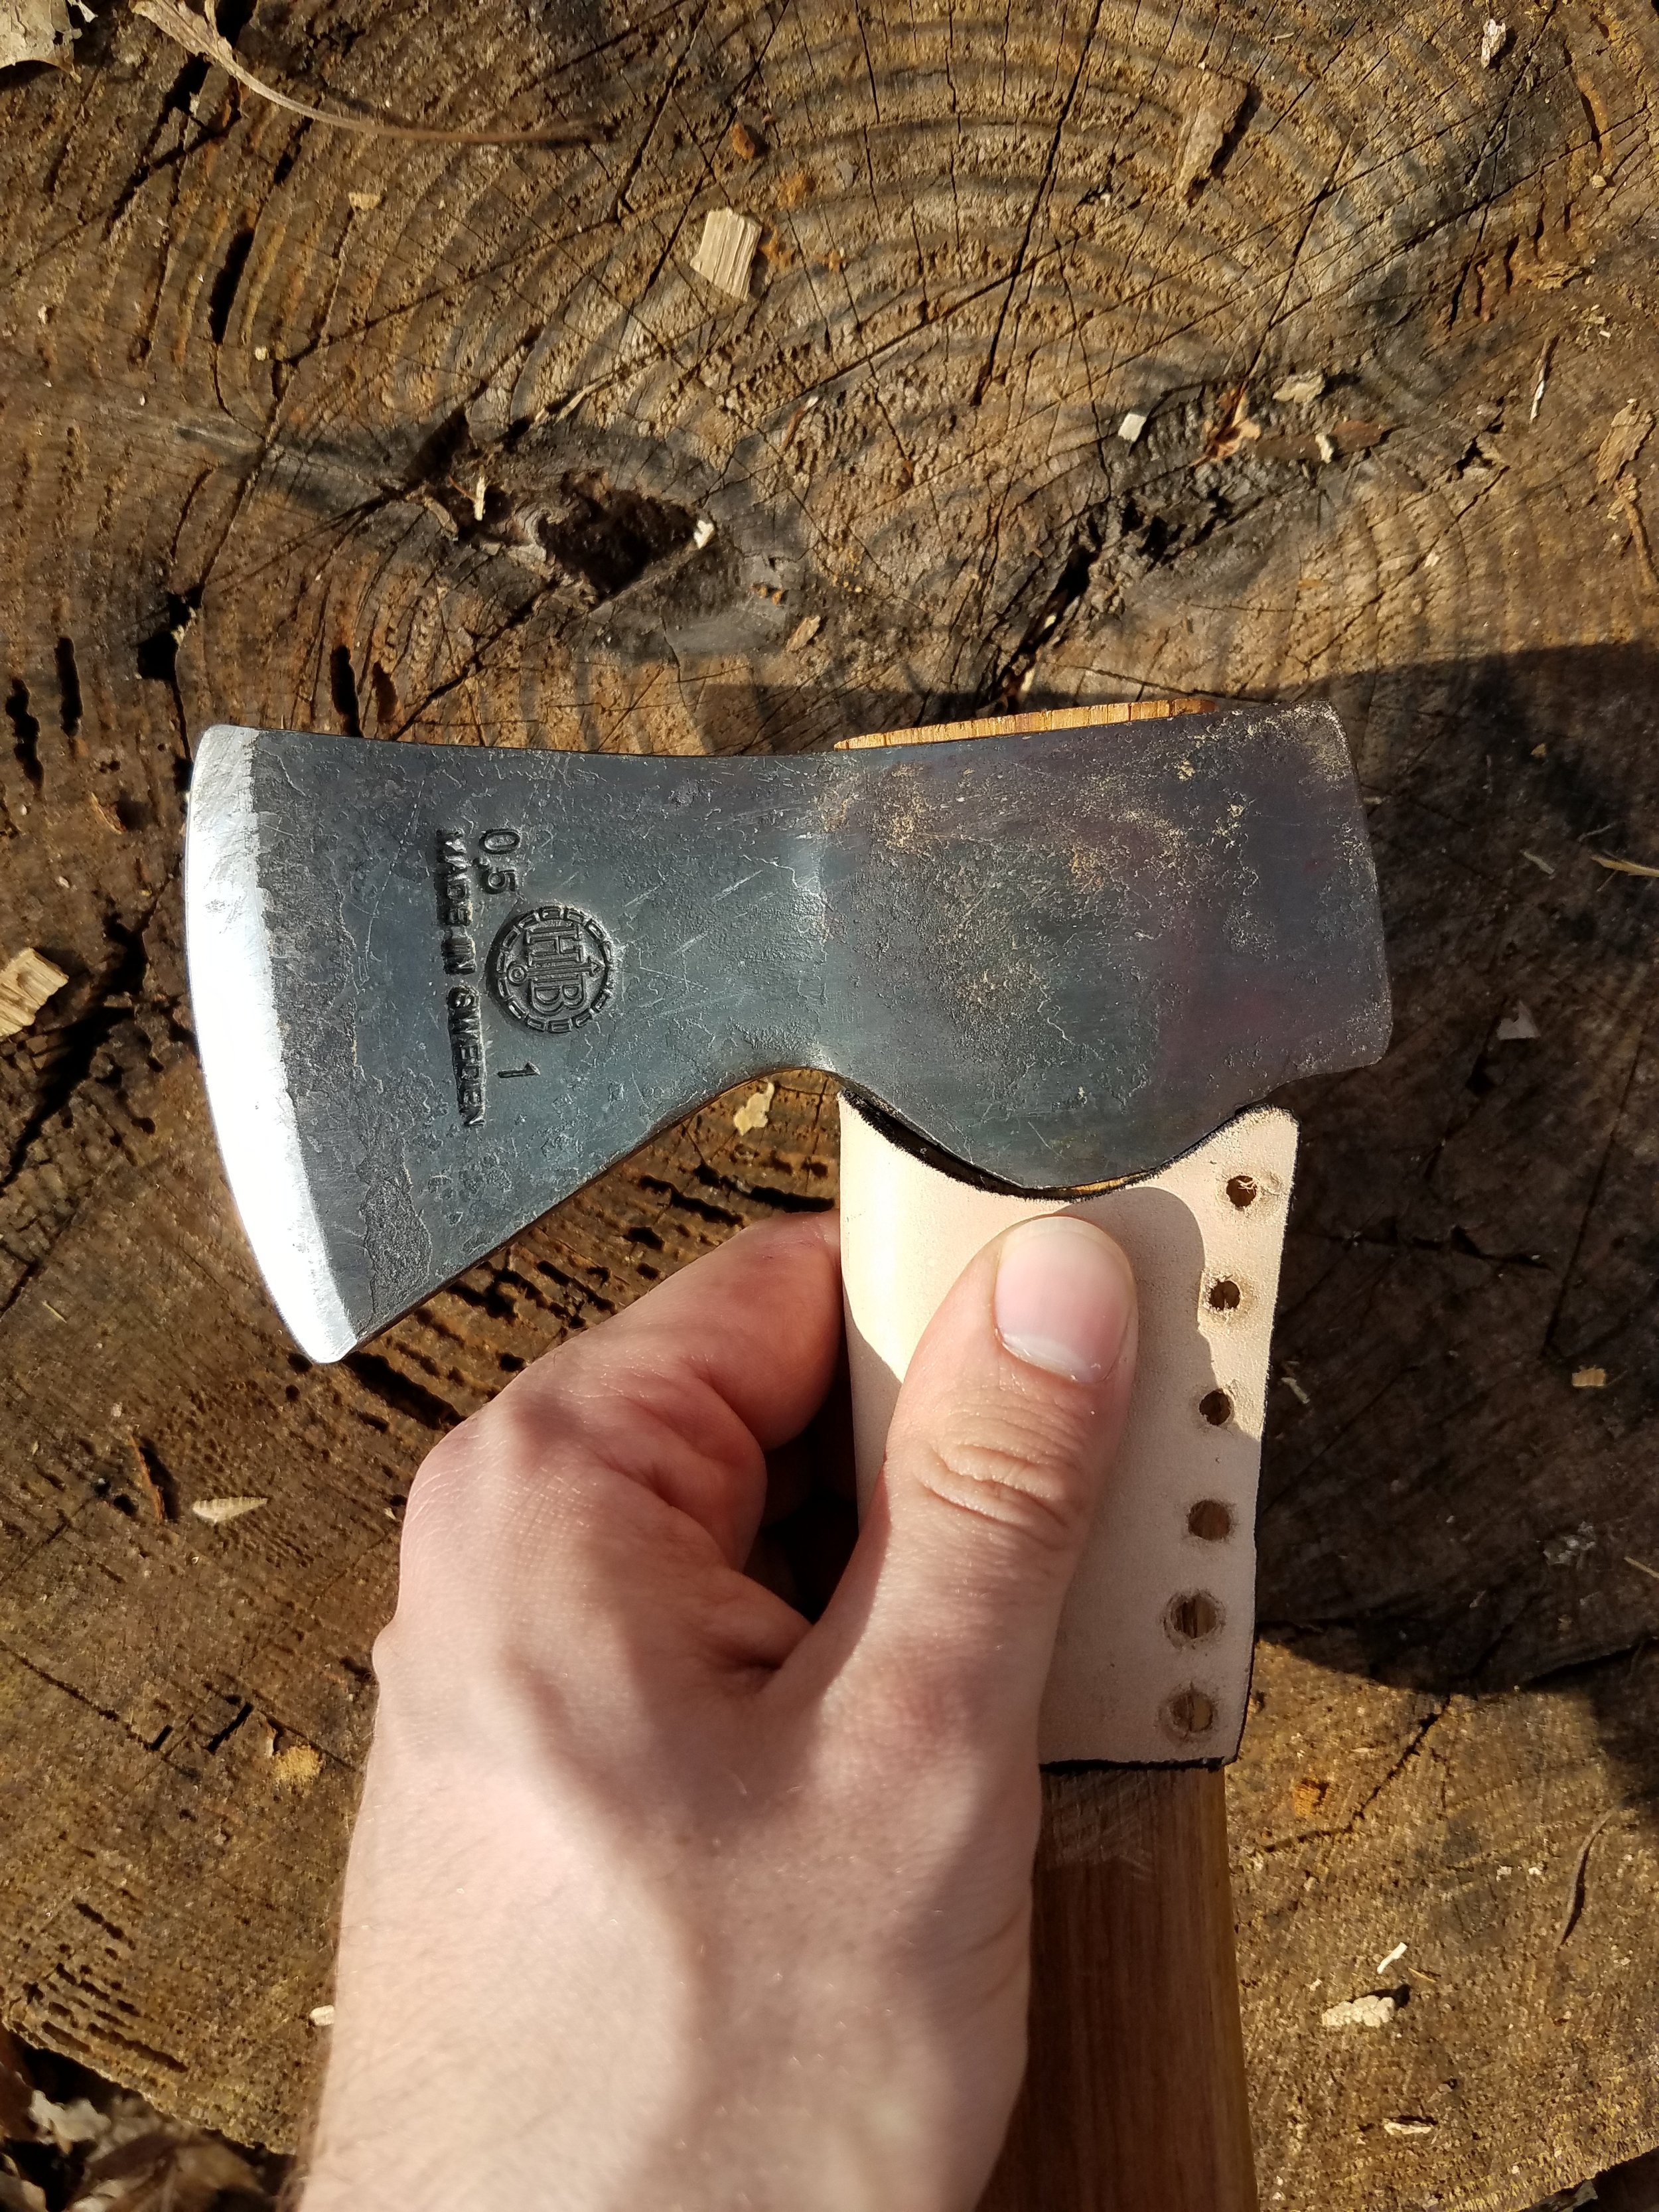
If you’re new to the bushcraft world, you may wonder why so many people have leather collars around the throats of their axes and hatchets. Is it for decoration? Because they definitely look cool. Is it for better grip? It sure does help. Yes to both, but that’s not their main purpose.
What you’re looking at is a throat protector, also called an overstrike protector, throat collar, or throat sleeve. One of the worst feelings when swinging an axe is overshooting your target and hitting the piece of wood you’re trying to split or limb you’re trying to cut with the throat of your axe. It leaves a dent in your axe handle in the best case scenario, and in the worst case, can rip a chunk of wood out of your axe’s throat and do serious damage – the kind of damage that makes your axe prone to breakage and unsafe to use. Generally, hickory axe handles are tough, but if you’re working with wood that’s as hard, or harder than it is (say, hornbeam, black locust, seasoned hickory, dogwood, etc.), all bets are off. Even if you’re careful, you can still do damage.
Enter the throat protector. Usually made of heavy leather, some premium splitting axes have metal covers on their throats, and some folks use paracord wraps. But leather is the standard. And while there are many craft leather shops out there that make high-quality throat protectors, why not make your own? It’s an easy project that’s great for a beginner leatherworker, and unlike many beginner projects like coasters or key fobs, this is something you’ll actually use in the field.
While there are more details to it than this, here’s a basic overview of how to make one:
1. Take a piece of paper and fold it from the poll side around the throat of your axe just under the head. Using a pencil, trace the profile of the head onto the paper.
2. Cut the paper where it comes together under the beard of your axe, and then cut it to however long you want your protector to be. There are no rules for length, but it should be no more than ¼ the length of the handle. This is your template.
3. Find a heavy piece of leather and trace the outline of your template on to it using a sharpie.
4. Use a leather knife and cut along the lines. This is your blank.
5. Grab a wood file and file down the handle of your axe on both sides of the head where the throat protector will go. You want it to fit flush with the head, otherwise it’ll get stuck in whatever wood you’re trying to split and wear out quickly. Some people freak out at the idea of filing wood off the handle of their prized Gransfors Bruks or Hults Bruk axe, but this is a necessary step. Take your time and check for fit frequently, you’ll be fine.
6. Once you’ve checked for fit, take a punch and add lacing holes down the sides of your blank.
7. Using leather lace, fit your throat protector onto your axe and cinch it tight.
8. Optional, but nice – use some leather dye to get the color you want, or use some punches to add some decorative touches.
Now you can chop and split wood boldly, knowing that the throat of your axe or hatchet is safely protected behind a thick layer of leather. And don’t freak out if your protector starts to show some wear over time, or even wear through. If you use your axe a lot, this is completely normal. Just make another one. Your axe will thank you for it!
So, this post details the rough steps involved in making this project. But it doesn’t go into the specifics like which grain of leather to use, which tools to use, or show you what each step should look like. If you’re a seasoned leatherworker, you can probably figure all that out. But if you’re new to this craft and would like to make one of these for your axe in a supportive, hands-on environment with all the tools and supplies you need to get it done, join us for Sunday Afternoon Bushcraft: Leatherworking this coming Sunday, 2/10 from 2pm-7pm! Register now at www.sarcraft.com/sunday-afternoon-bushcraft!
- Alex


